DIY Snake Cage: Part 2. Let’s GO!
Scroll to the bottom for a material list with prices.
DIY SNAKE CAGE: PART 2
STEP ONE: TIME TO LAY SOME FLOOR
Ok, so now it was time to start laying the floor in the enclosure. This flooring is basic vinyl flooring, it comes in a large roll. I found it in a discount box at Home Depot! I went with a large plank, hardwood appearance. Here are the main benefits vinyl flooring provide:
- Incredibly easy to clean
- Durable
- Seals and protects the floor and back wall from damage
- It actually looks pretty decent, there are may different designs to choose from (ceramic, brick, rock, wood)
- Easy to install
- Absorbs heat
- Non-abrasive on the animals
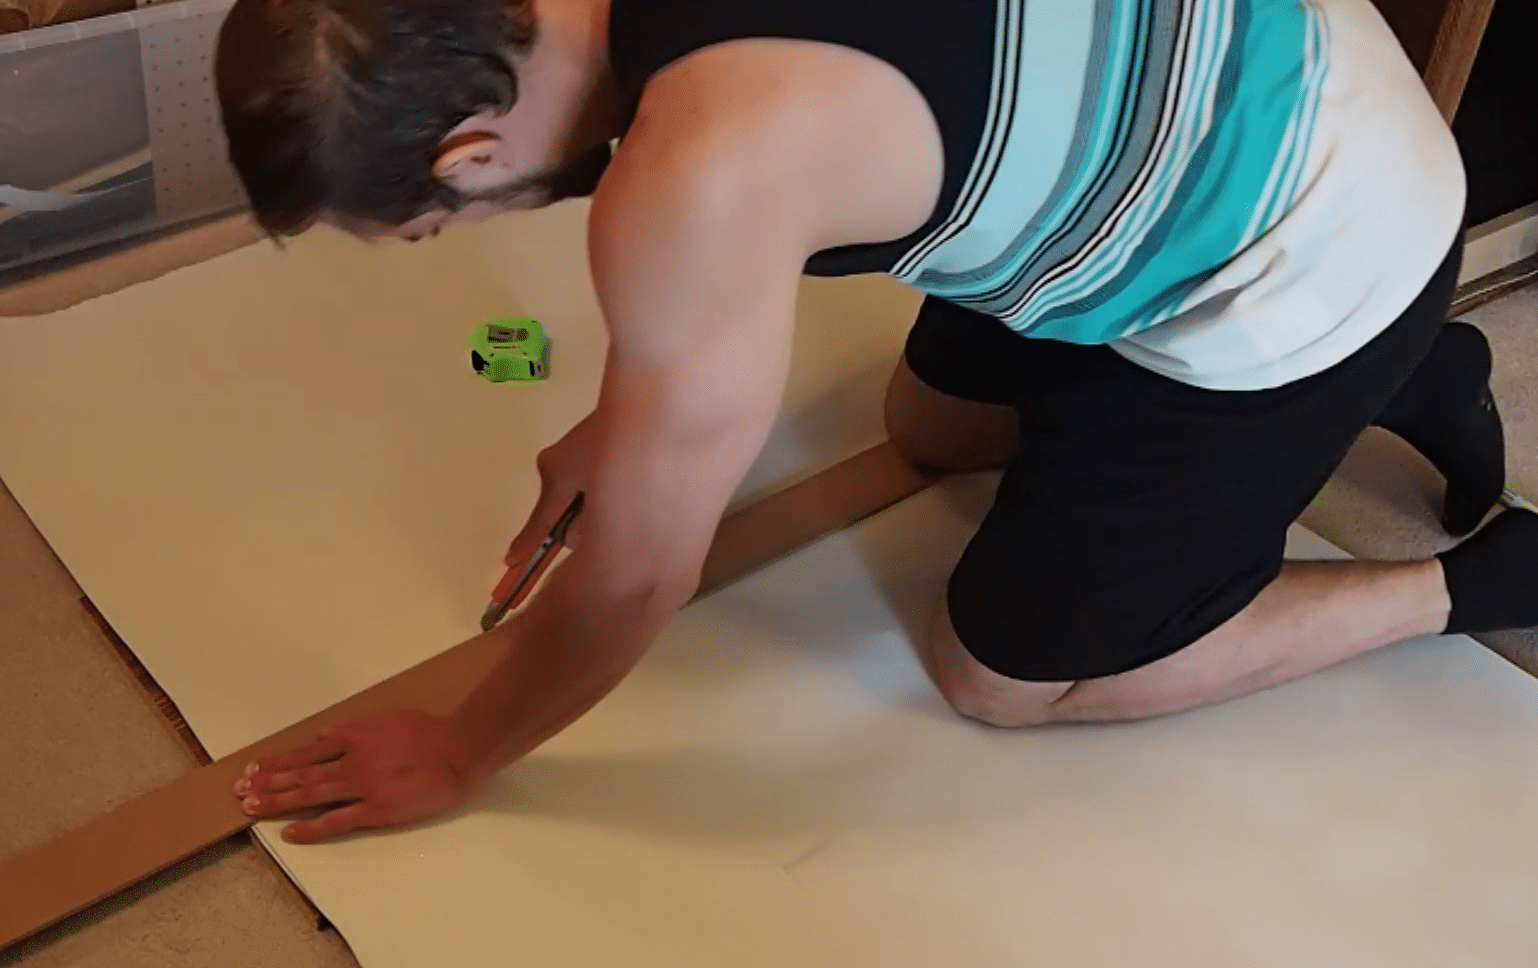
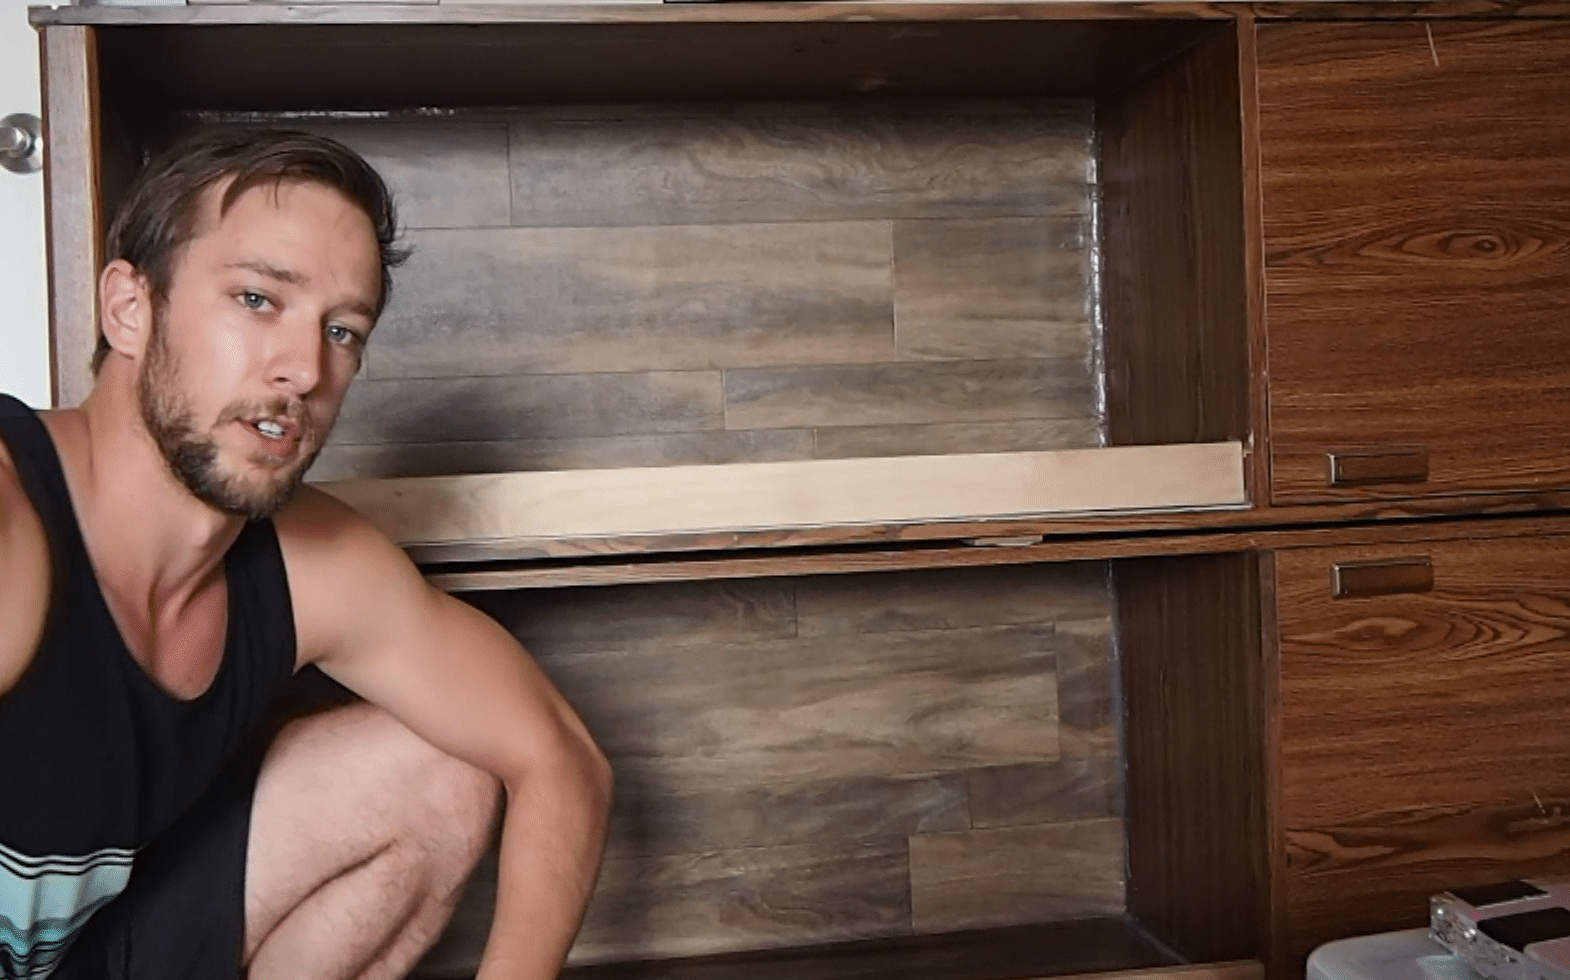
I used an exacto blade to roughly cut out the size of vinyl floor I needed. I decided to cover only the bottom and back wall with the flooring. The sides do not see enough wear for flooring to be necessary, nor does the ceiling.
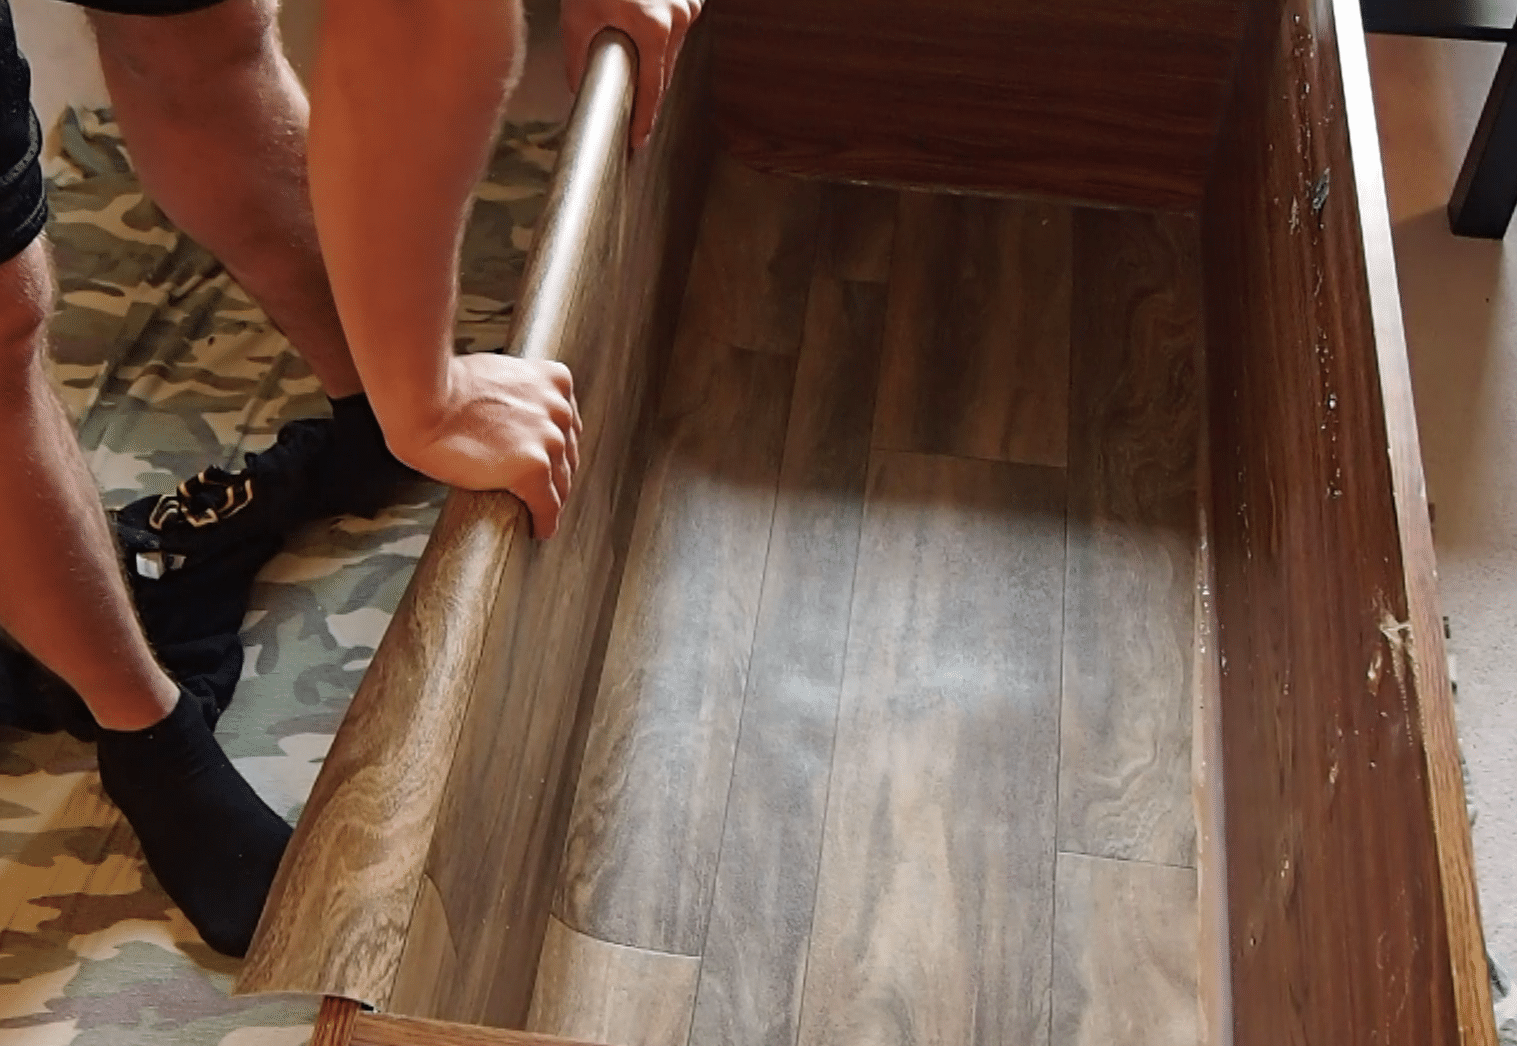
Then, I dry fit the piece of vinyl into the enclosure. Once I was happy with the fit, I was ready to glue it down.
NOTICE: I only used a single piece of flooring for the back and the bottom.
This means there is no seam where the back and bottom of the enclosure meet. This is definitely the way to go as now I don’t have to worry at all about any leaks, etc.
Instead of using proper vinyl floor adhesive, I used my trusty tube of General Electric Silicone I. I used silicone to glue the floor down for 2 reasons:
- I knew it would hold (silicone sticks to pretty much anything)
- It is completely non-toxic to the animals when it is dry
First I laid down a bead of silicone in a “squiggle” pattern on both the back wall. Then, I used a scrap piece of hardboard (from Part 1) to smear the silicone out as best I could.
![]()
![]()
Once I finished smearing the silicone on the back wall, I “squiggle-smeared” the bottom with its share of silicone as well (not pictured).
Now it was time to insert the vinyl flooring in for real. The flooring is very easy to work with and the silicone is quite forgiving. I was able to set the floor in the enclosure and wiggle it around till it sat in the position I wanted.
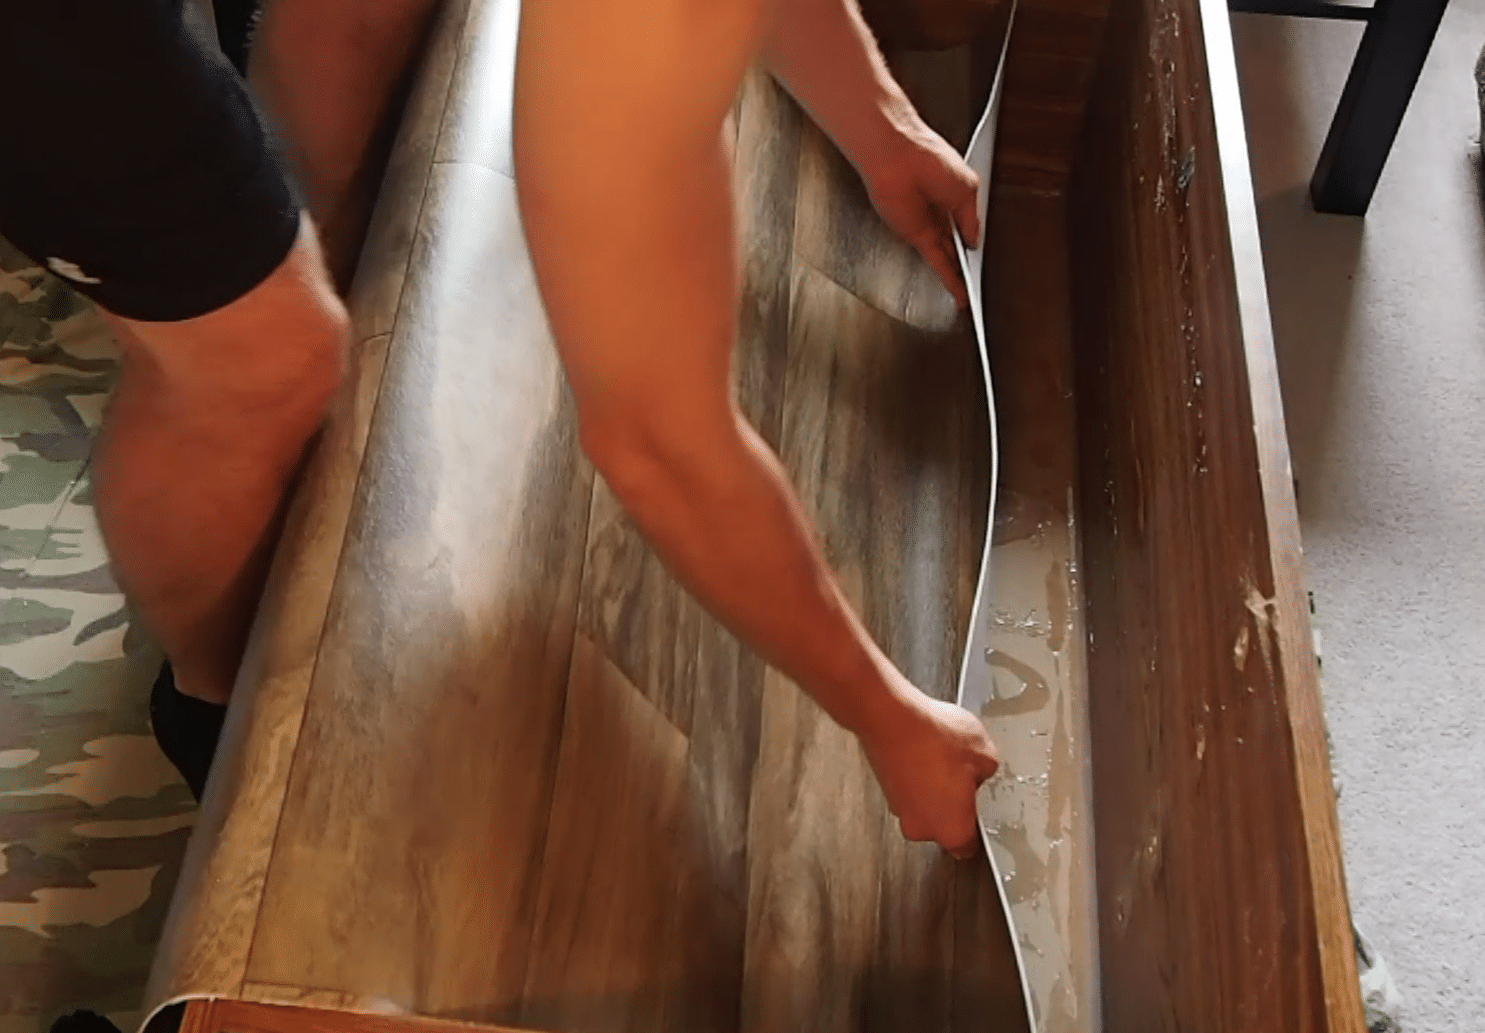
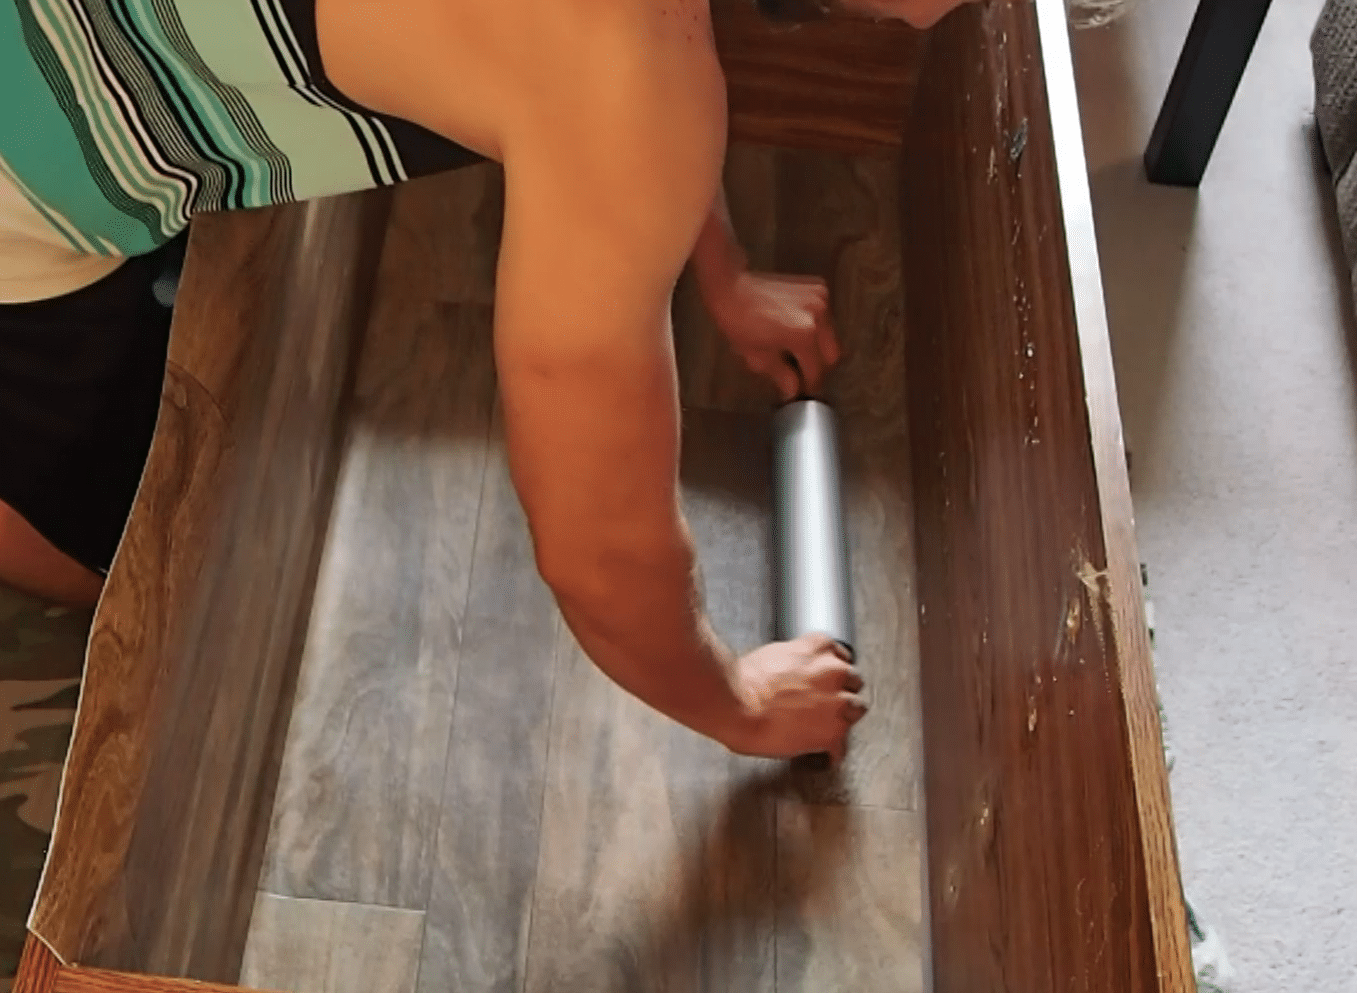
I used a rolling pin to press the flooring into the silicone to ensure they were bonded together thoroughly. Then, I cut off the excess flooring that was hanging off the bottom.
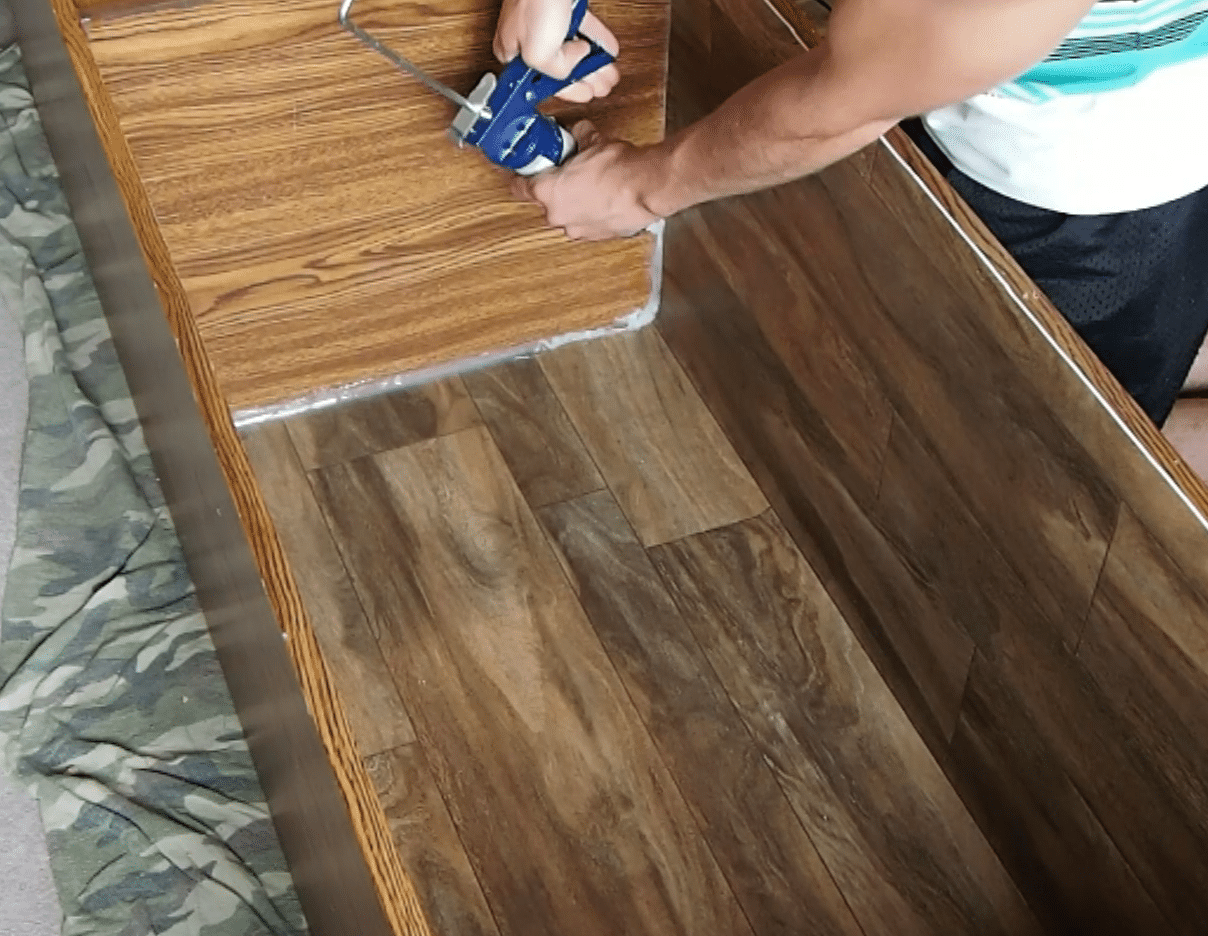
And finally, you guessed it… more silicone! (my personal rule of thumb: if your lungs and eyes aren’t burning… you haven’t used enough). I used more silicone to seal the seams where the vinyl floor meets the melamine of the cabinet.
STEP TWO: WE HAVE A RUNNER
I’m not sure if you can actually call that board in the picture below a “runner board” but that’s what I call it! Anyway, at this point I was ready to install the runner board along the bottom of the enclosure.
This board is being installed so the glass tracks on the bottom have a place to sit. Technically, I could have installed the glass track directly to the cabinet itself but this way substrate doesn’t fall out every time I open the doors.
The board is a 1″ x 3″ and the wood is oak although you could probably use any type of wood (hardwoods should only be used).
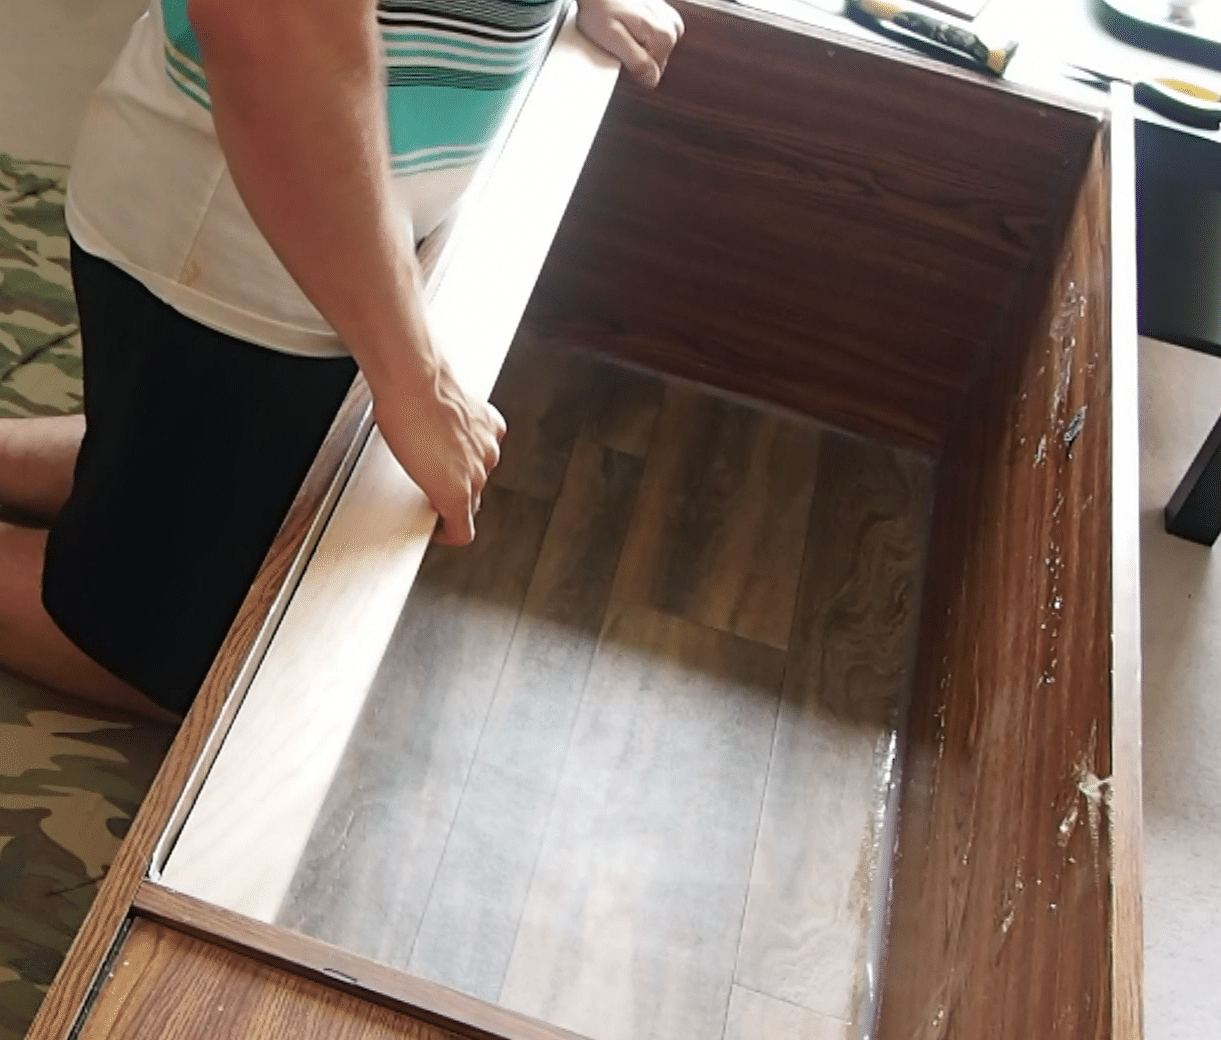
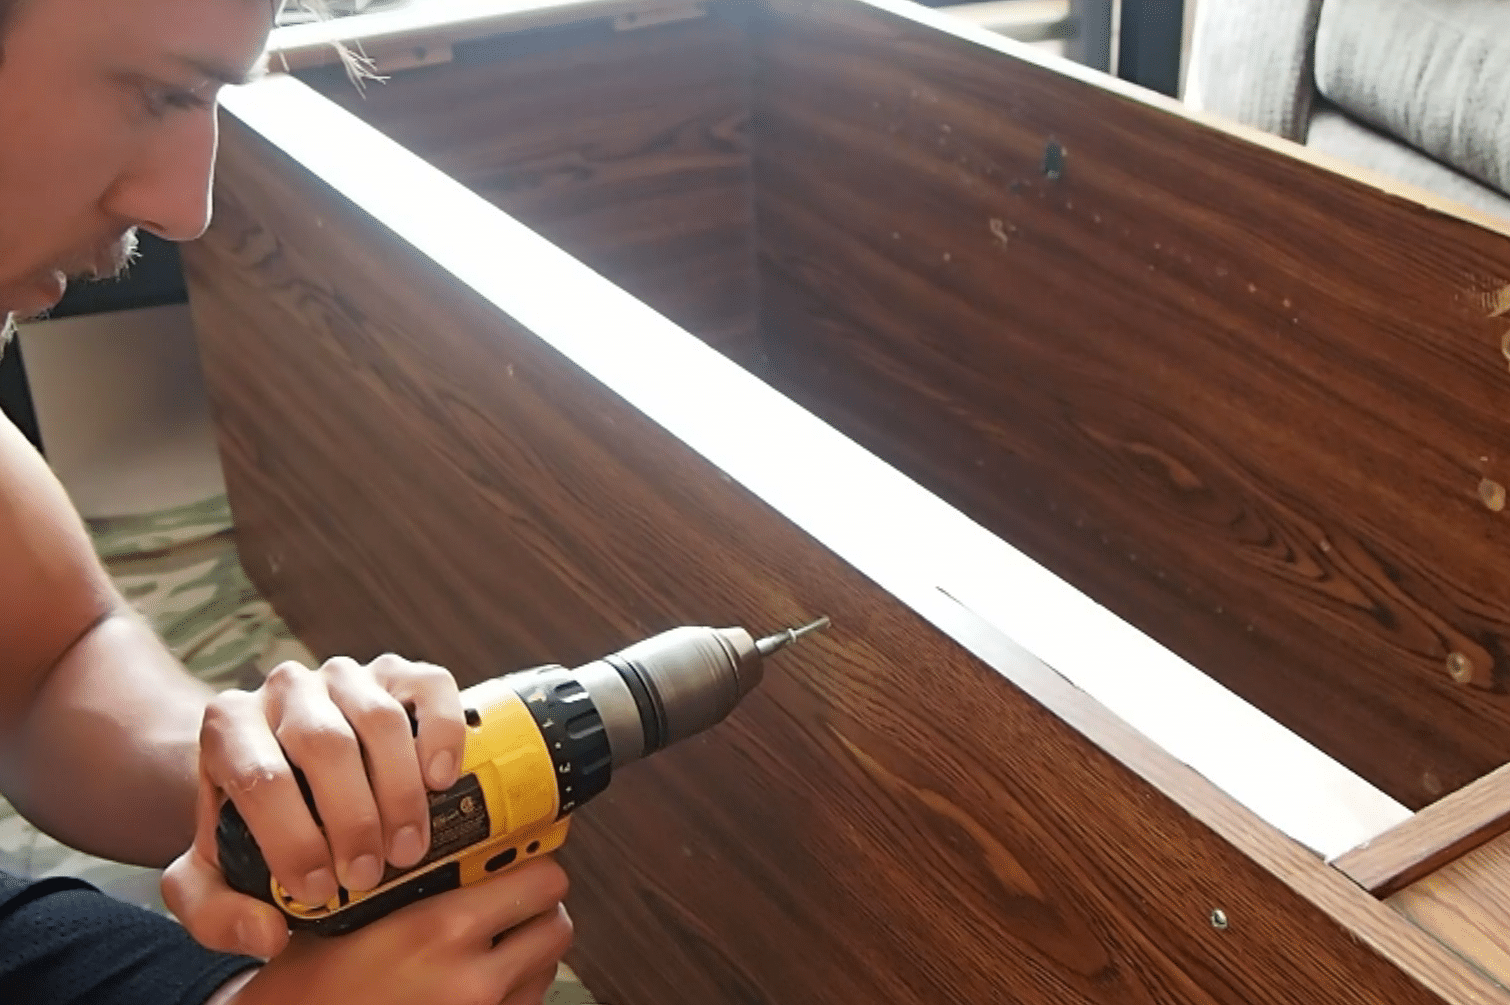
I punched about 5-6 screws through the bottom of the enclosure to secure the runner board in place.
And of course… more silicone! This is the inside seam i.e. where the oak board meets the vinyl floor. Seriously, when in doubt you should seal it up! There is no point in risking moisture damage. Realistically, oak can resist a lot of moisture but it just makes more sense to make sure it is completely sealed.
![]()
STEP THREE: SKIS!
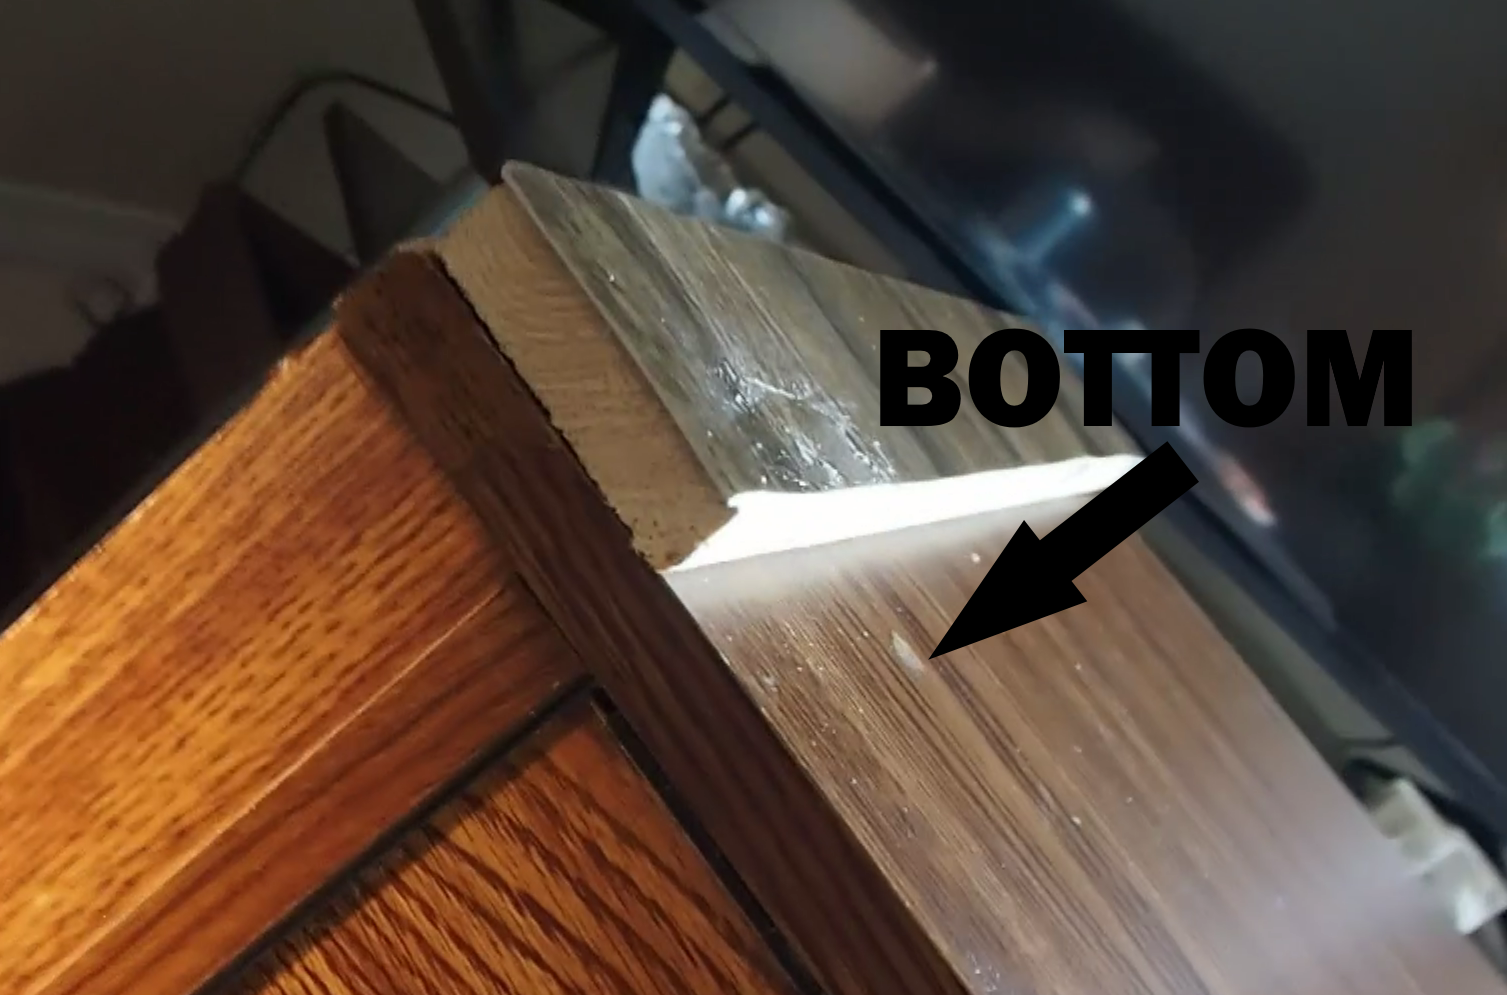
One little thing I did that I forgot to record was add “skis” to the bottom of the enclosures. I made these from scrape 1″ x 3″ lumbar I had lying around as well as some left over vinyl flooring. I installed 3 of them as you can see two pictures down. These skis serve two main purposes:
- They allow air flow between the top and bottom enclosure and the bottom enclosure and the carpet in the reptile room. Since I am using heat mats for a hot spot, air flow is very important to reduce heat transfer between enclosures.
- They make the enclosures far easier to slide around on the floor when moving.These skis weren’t in the original plans but I am glad I thought of them! Sometimes the ideas that come to you on the fly are the best ones!

STEP FOUR: BACK TO THE REPTILE ROOM AND WAIT…
At this point all the dirty work is done! I am very pleased with the way the enclosures have turned out. Part two is complete!
Unfortunately, the glass I ordered took about two weeks to come in which left me waiting in anticipation. If you are as excited as I was to install the glass… check out PART 3!
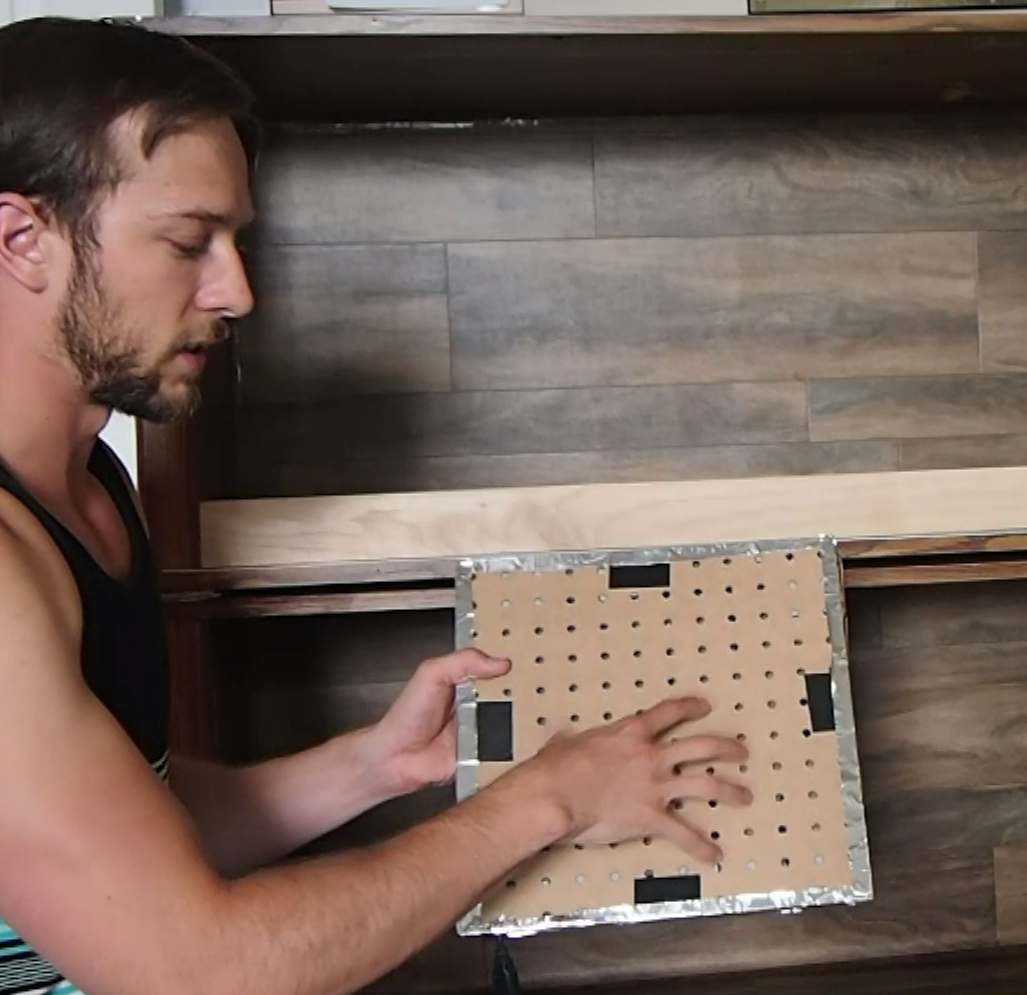
Also, at the end of the video I briefly discuss how I built my own radiant heat panels shown in the photo below. I ended up making a more detailed version to help answer any questions some of you had, you can check that video out HERE –> DIY RADIANT HEAT PANEL
DIY SNAKE CAGE: PART 2
MATERIAL LIST (appropriate prices, in Canadian dollars), keep in mind I built TWO enclosures so this is the list of materials I used to do both.
- Vinyl floor= $45.00 (had tons left over)
- Silicone= (see Part 1)
- Oak board, 8′ L 1″x3″= $15.00
TOTAL: $60.00
Move on to DIY SNAKE CAGE: Part 3 to install the glass and any other finishing touches!
One Reply to “DIY Snake Cage: Part 2”