Welcome to my DIY Snake Cage 3 Part series!
I just finished uploading a video tutorial for my latest DIY project, which was converting two cabinets into snake enclosures for my boas. I have posted Part 1 of the video below, but in case you don’t have time right now to watch it… OR maybe you are at work and you need to make it look like you’re “working” I have broken it down into steps below with pictures! Although I highly recommend eventually watching the video as I go into more detail.
Scroll to the bottom for a material list with prices.
DIY SNAKE CAGE: PART 1
STEP ONE: ACQUISITION
Hunt the local classifieds for cabinets and/or shelving units! These can be very useful, especially if you’re like me and have limited carpentry skills and/or a limited space to work in (I live in an apartment). Usually old cabinets can be picked up for rather cheap and provide a solid foundational structure to work with.
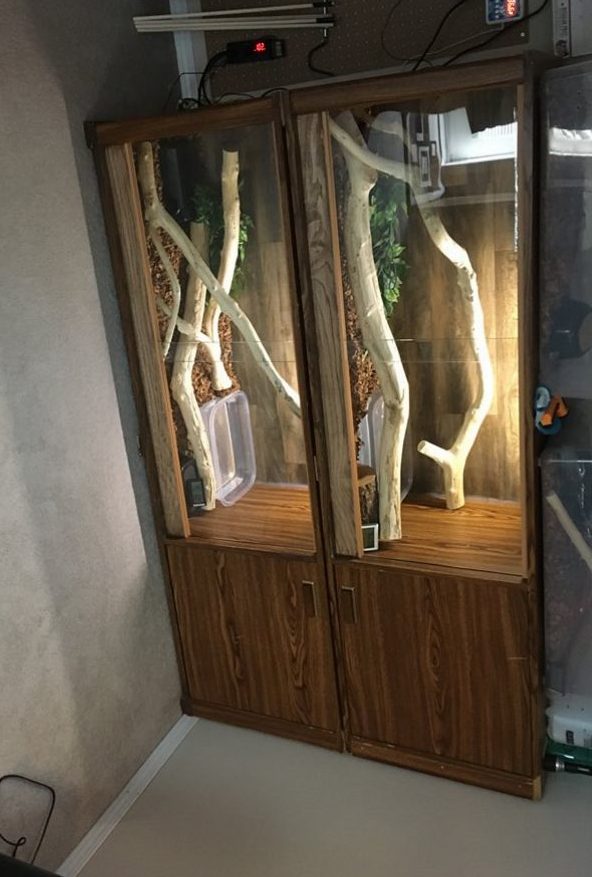
The cabinets I found were vertical standing, about 72″ high, 20″ wide and 18″ deep. Originally they were used to house my Exo-Terra 18x18x24, which they held perfectly.
I rotated the pic below so you are able to sort of picture what they originally looked like. But don’t stare at that picture for too long… it will really mess with your mind.
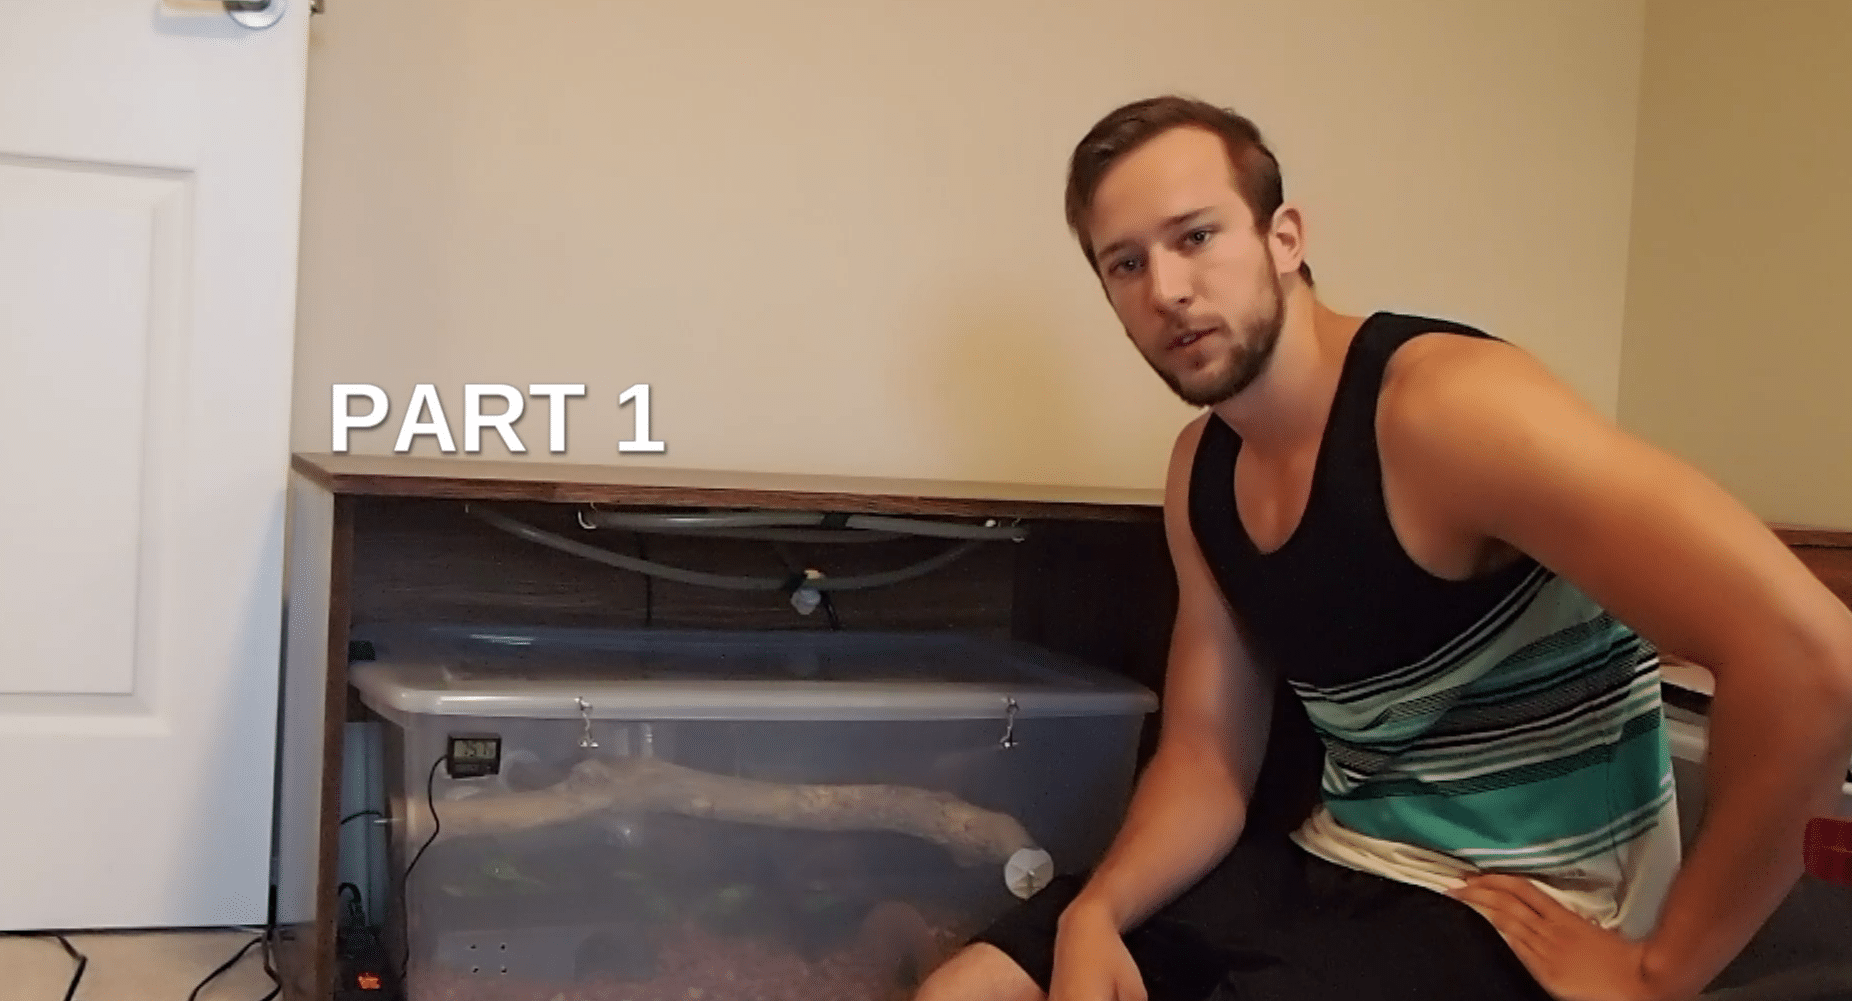
Eventually I moved my Exo Terra’s from them and got the idea to lay them on their side so I could store a large bin in each one as shown in the picture below. But just like my reptile induced debt, my snakes grew and it was time for an upgrade.
STEP TWO: DEMOLITION
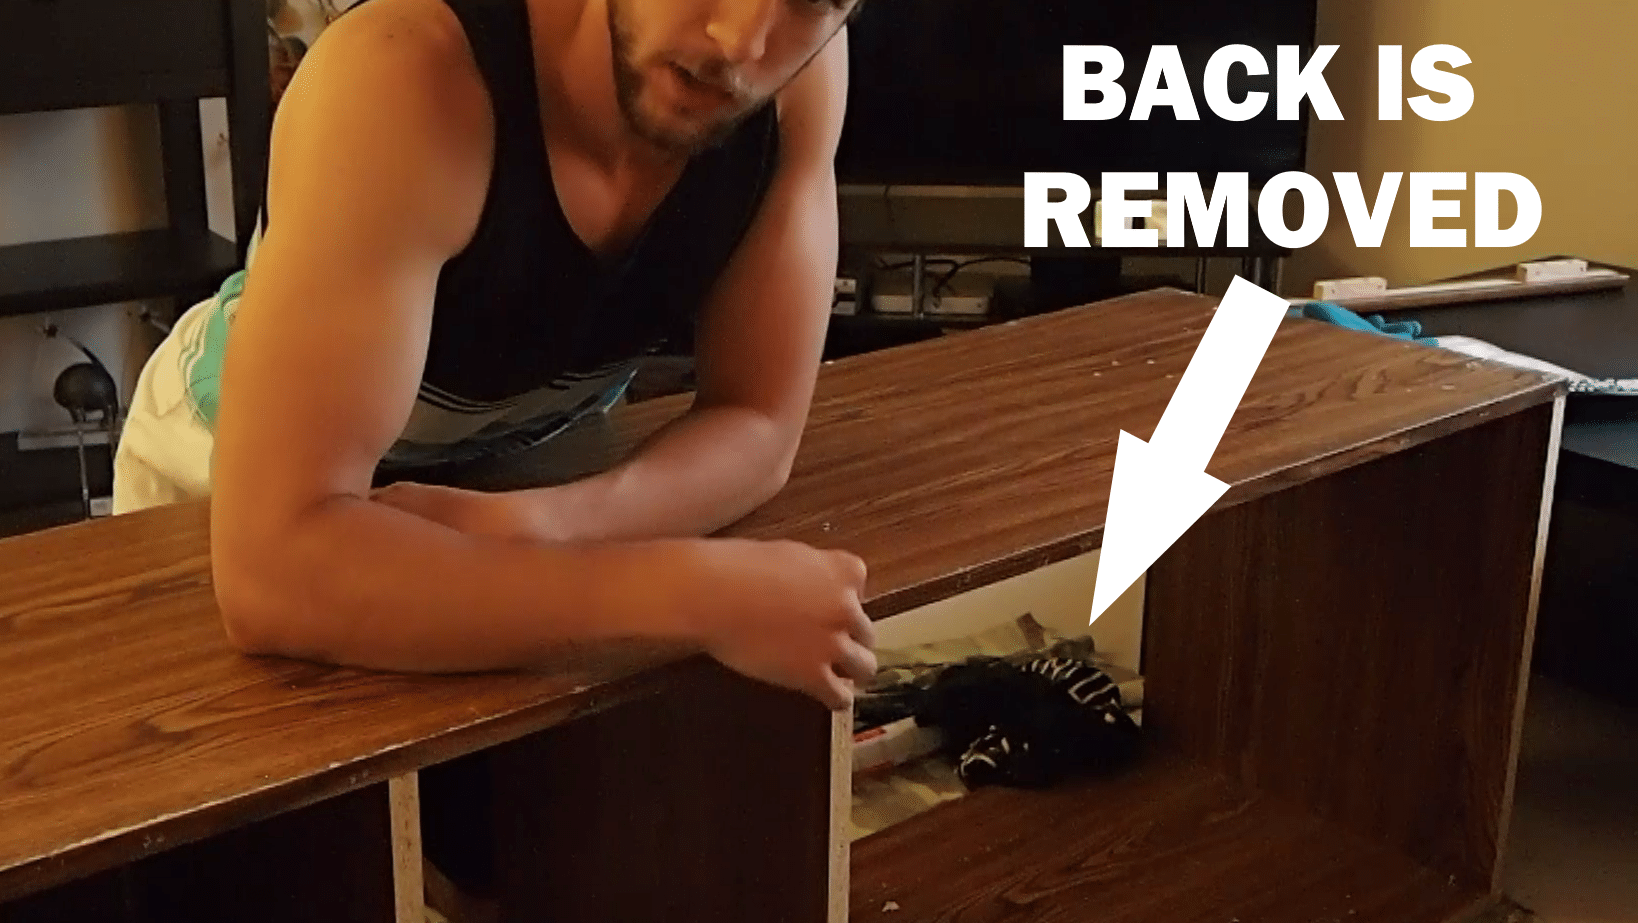
Next I had to remove parts of the cabinet that I either hated or did not need. These particular shelves had two things that fell into both categories:
- The back panel:The back panel was maybe of a very thin sheet of essentially a melamine type material. I had punched holes through it in the past and it was just overall too flimsy of a material to have as a back wall, so it had to go.
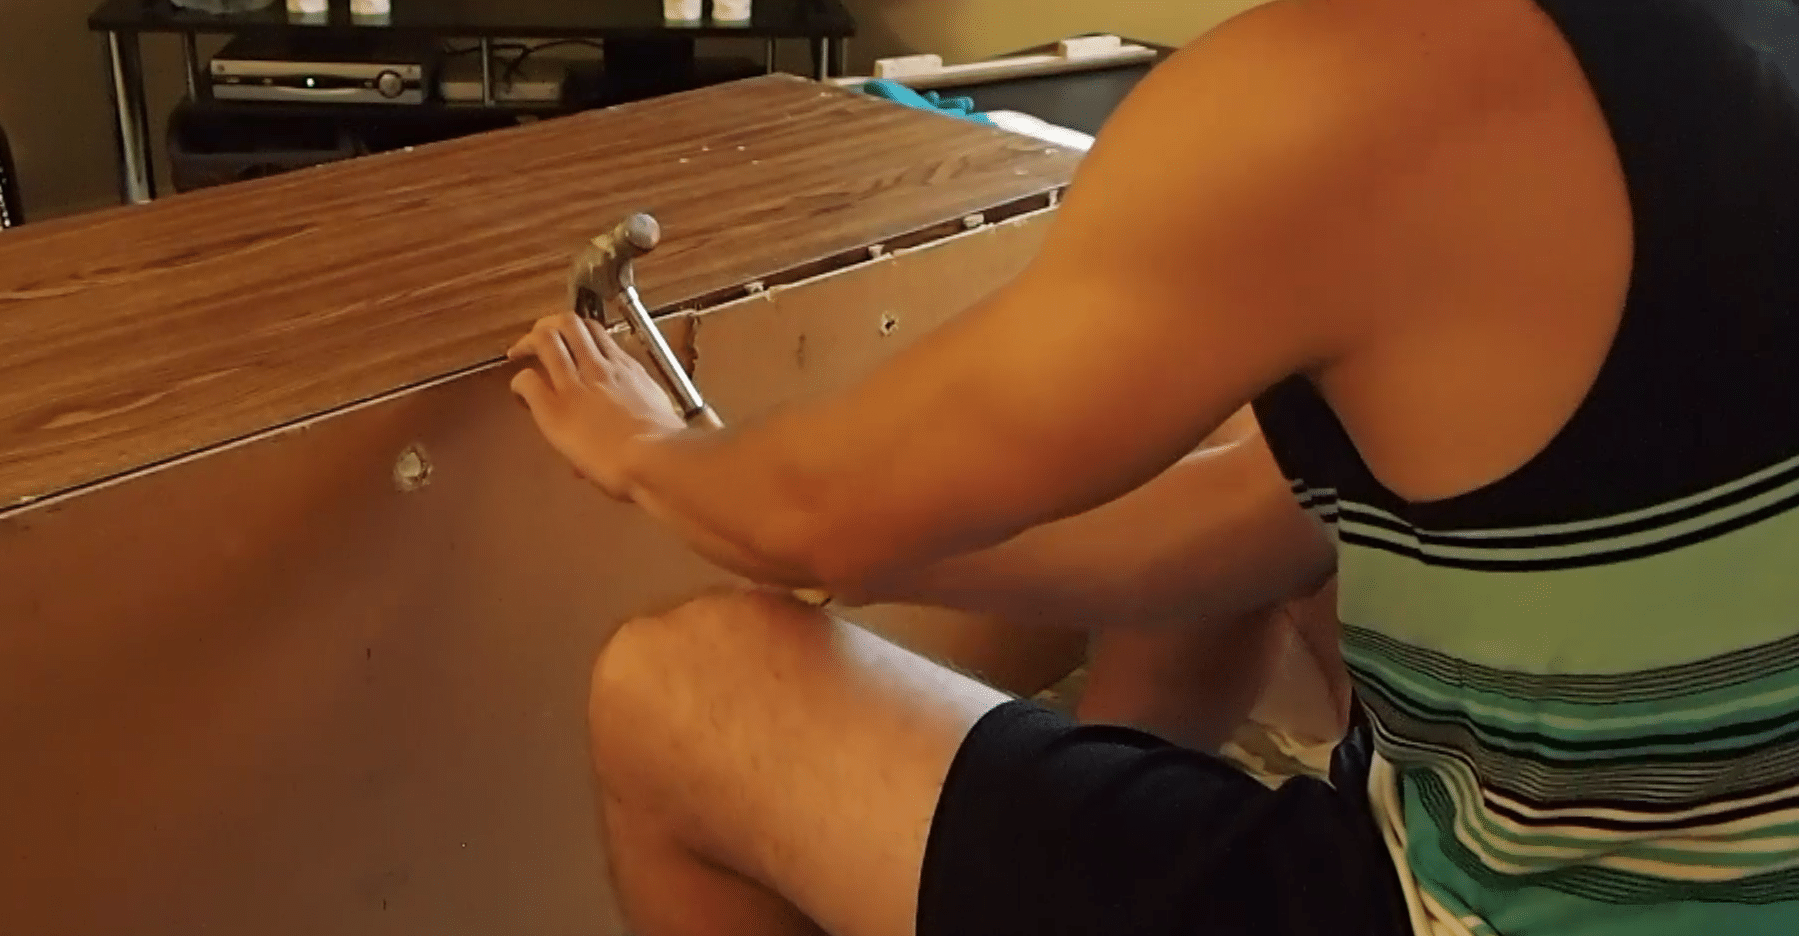
- The fixed shelf: These cabinets came with several removable shelves as well as a few fixed shelves. The fixed shelves are held in place with wooden pins. I had to remove the highest shelf, as I wanted to use the full 46″ length the cabinets had to offer.
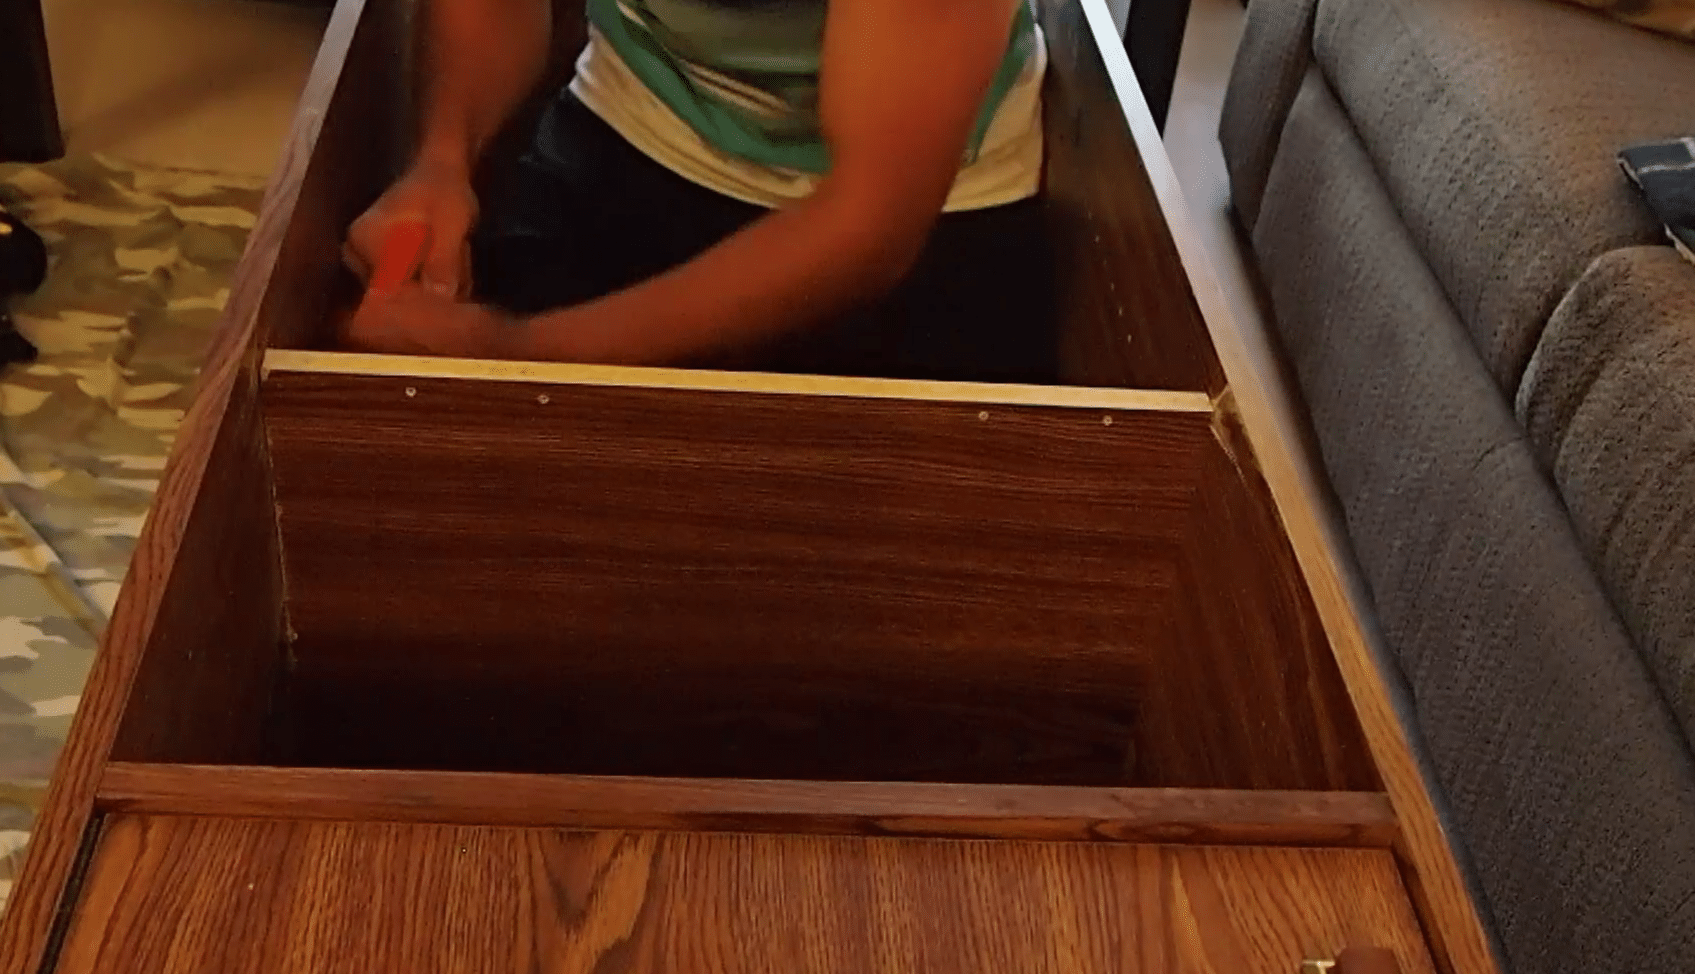
If you are interested in watching me struggle , watch me try and cut that shelf out with a hand saw. It’s pretty funny.
STEP THREE: “CONSTRUCTION”
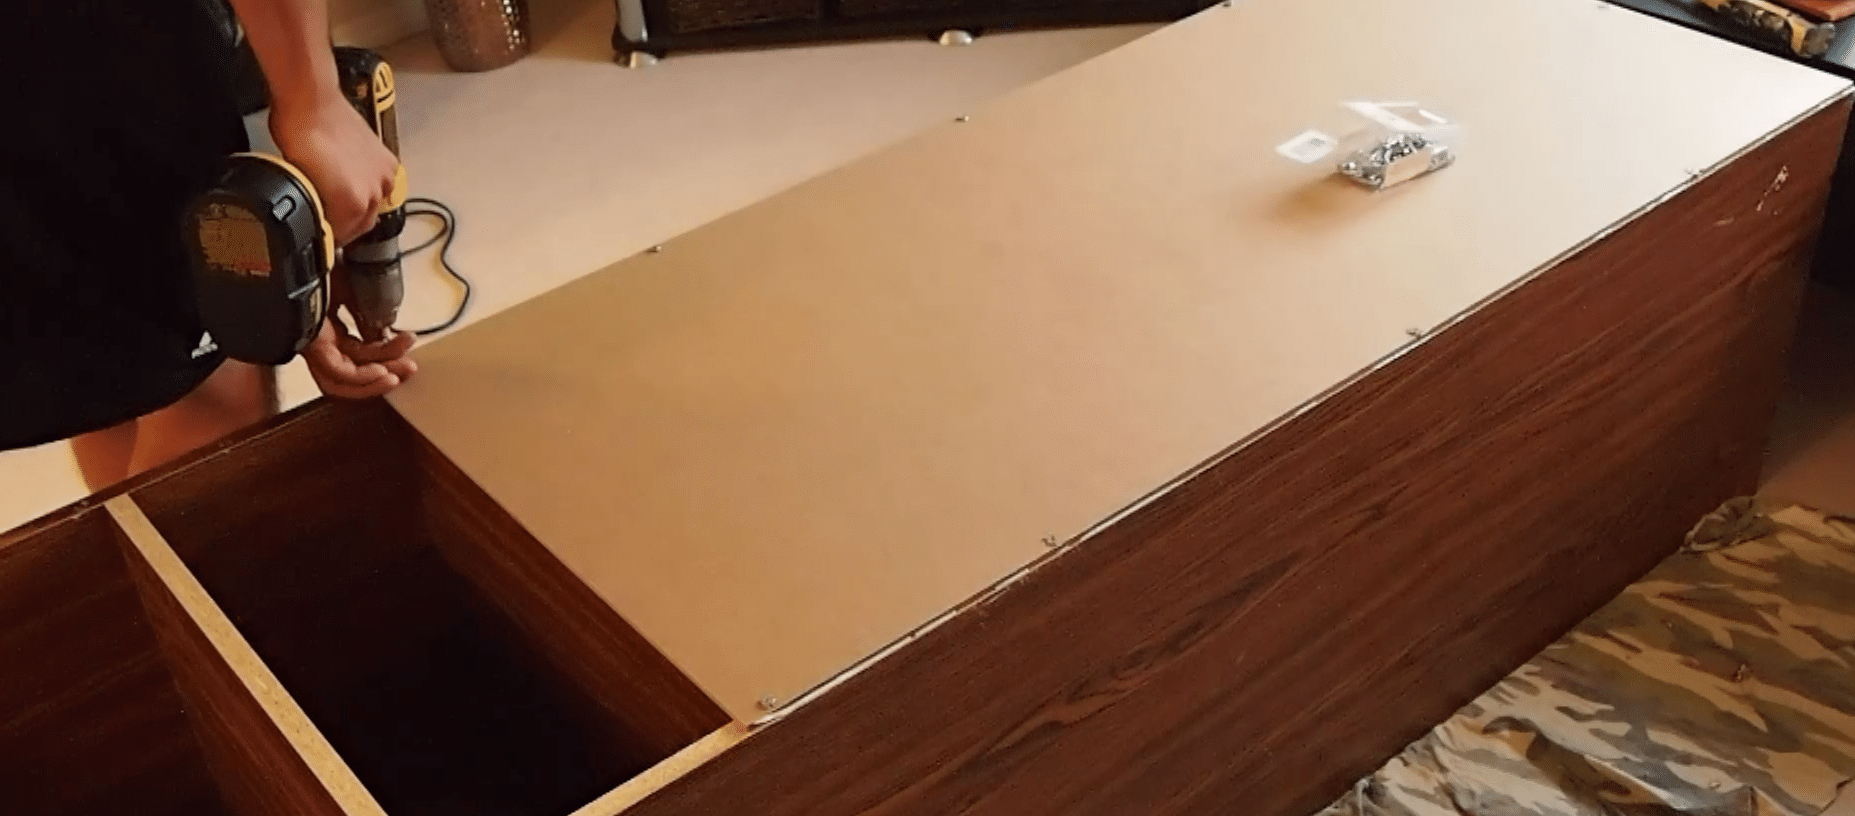
Now it was time to add a new back to the unit. I choose a product called “hardboard” which I found at Home Depot. It is essentially a very thick, very hard (I’m going to stop you right there)… very compressed sheet of cardboard.
Hardboard was cheaper than plywood and has more than enough structural integrity. Plus it would eventually be sealed with vinyl floor and silicon so I wasn’t worried about water damage, etc.
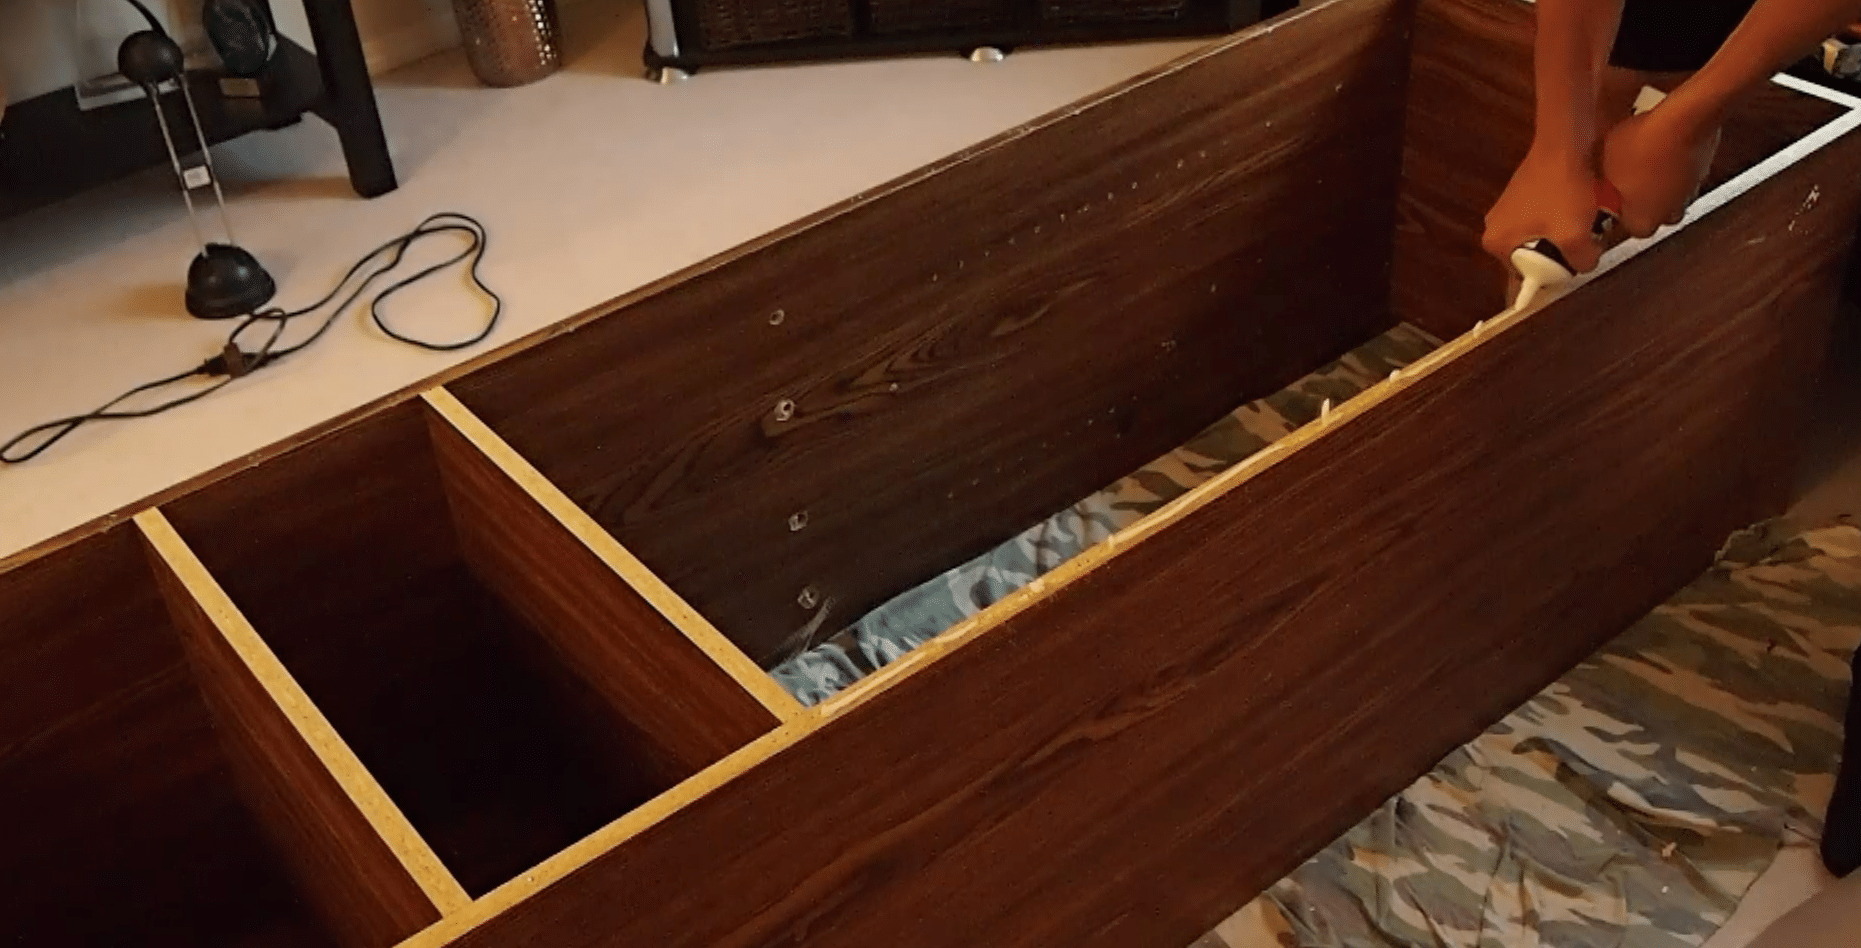
First, I ran a bead of No More Nails Adhesive by LePage around the perimeter of the unit. I really recommend picking up a tube of No More Nails, even just to have for around the house. I was amazed at how well it adhered once it was dry, and it basically has zero chemical smell. Although, I can’t say it is non-toxic for animals though so I’d stay away from using it where the animals can readily access just to be safe.
Once I compressed the hardboard into the adhesive, I added a few screws per side for some extra support. The screws probably weren’t necessary but, why not?
STEP FOUR: SEAL ‘ER
It is very important to seal up all seams in the enclosure! Melamine and wood cabinets can quickly become damaged due to moisture, so I went heavy on the silicon! Boa constrictors aren’t kept in wet/damp enclosures by any means but their urates/pee can do some real damage.
I used General Electric Silicone I. This is very IMPORTANT because GE Silicon I is 100% non-toxic and safe for animals once dry. GE Silicon II, is not!
GE Silicon II is labelled as “Mold Free”, meaning they add a chemical to the silicon to prevent any mold growth. This chemical is toxic to animals. GE Silicon I is labelled as “Mold Resistant” meaning no additional chemicals are added.
![]()
DIY SNAKE CAGE: PART 1
MATERIAL LIST (APPROXIMATE PRICES, in Canadian Dollars), also keep in mind I built TWO enclosures so this is the list of materials I used to do both.
- Cabinets= $50.00 for both
- 2 x Hardboard 2′ x 4′ sheet= $17.00
- No More Nails= $9.50
- 4 x tubes GE I Silicon= $20.00
- Screws= $5.00
TOTAL: $101.50
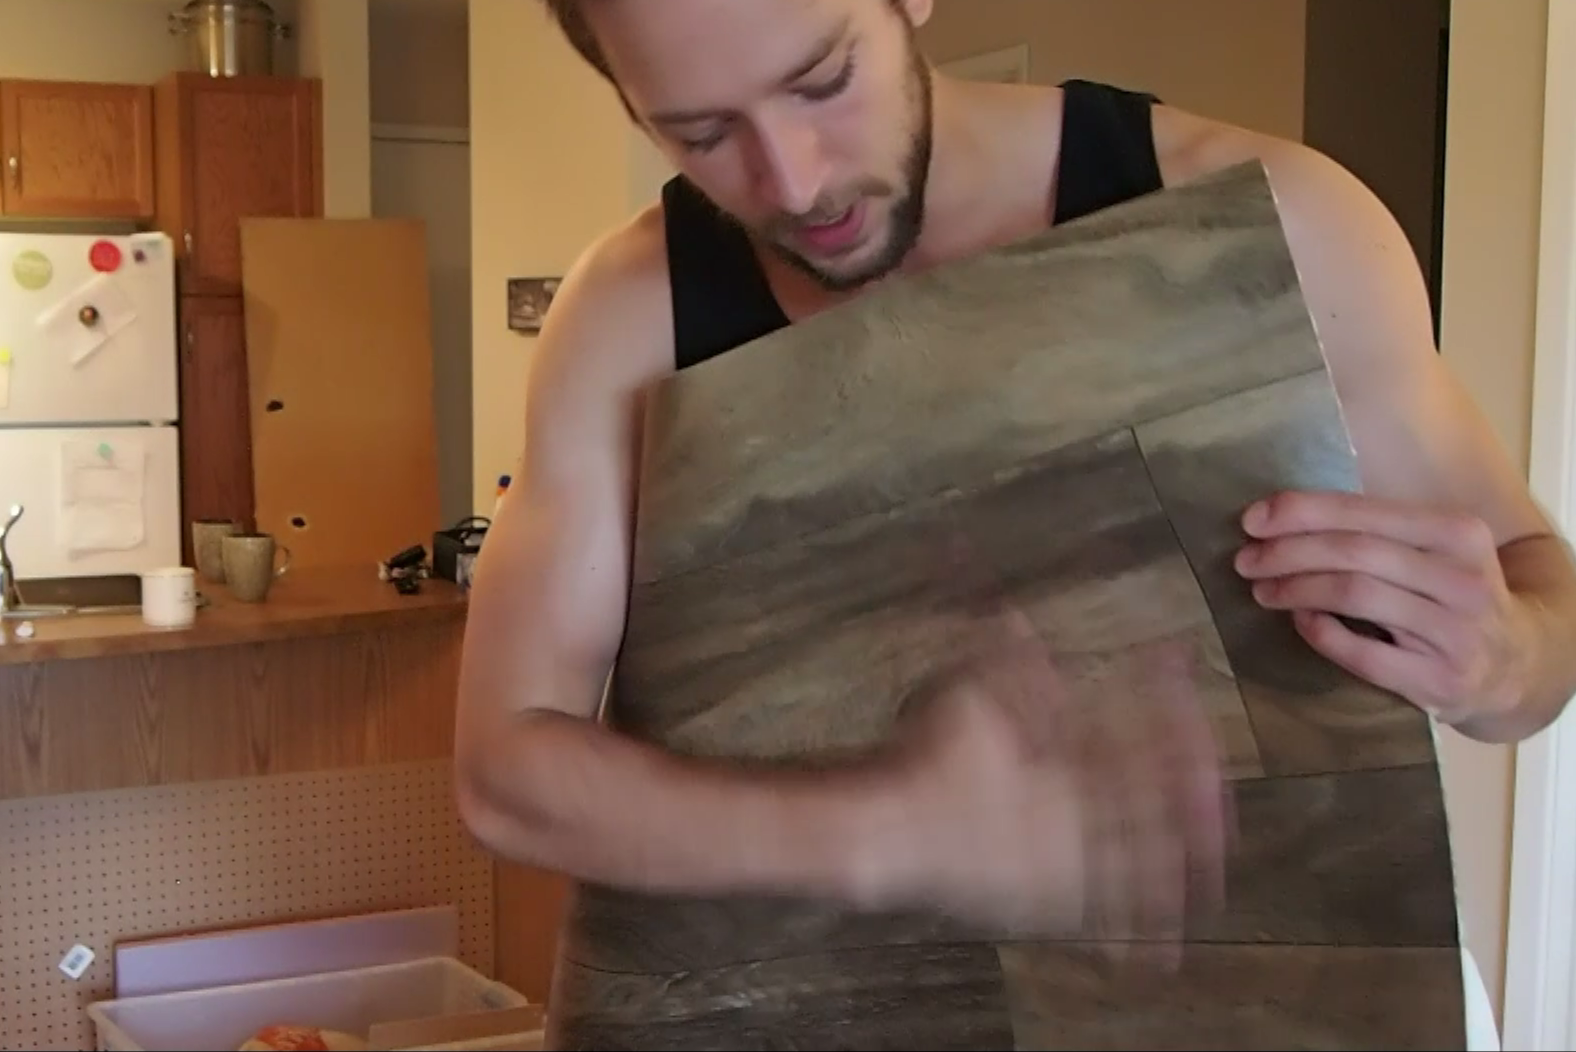
Okay, that is enough for DIY Snake Cage: Part 1! Next up is installing the vinyl flooring, below is a shot of the flooring I picked. Click PART TWO to see how it got installed.
4 Replies to “DIY Snake Cage: Part 1”